Role Template Menu Configuration
You can select the menus and submenus to which Users can have view/
edit access. The administrator can select the required menu access to
the particular Role Template. Only the selected Menus are displayed to
the users assigned to that Role Template. The access to users is based
on the Domain and Role Template to which they are assigned.
To add a Role Template:
- Select Admin>
Basic > Users
> Role Template.
- Click the ADD
MENU CONFIGURATION icon on the ACTIONS
panel to create a new Role Template, and add the Menu Configuration
for the new Role Template.
- On the ROLE TEMPLATE -
MENU CONFIGURATION page, select the Module and type in details
for the new Role Template name.
- Select a home page from the Landing
Page list and click the Refresh
icon. If you select the Active
check box, the Role Template becomes available to be assigned to Users.
- Select the menus, submenus and the Edit,
View check boxes to provide
the required access.
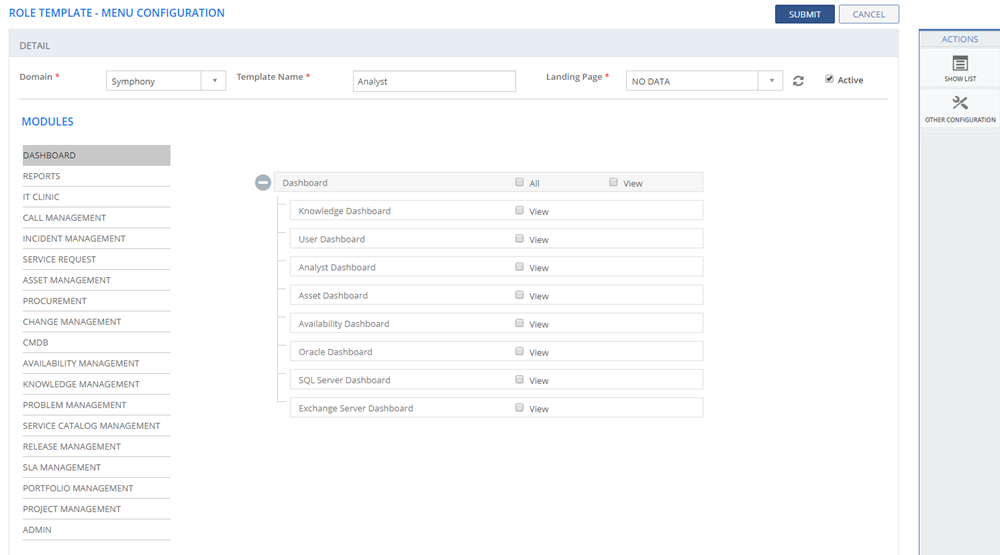
Figure: ROLE TEMPLATE - MENU CONFIGURATION
page
ACTIONS
This section
explains all the icons displayed on the ACTIONS
panel of the ROLE TEMPLATE - MENU CONFIGURATION
page.
SHOW LIST
Click SHOW LIST to display the
LIST table showing all the configured
Templates.
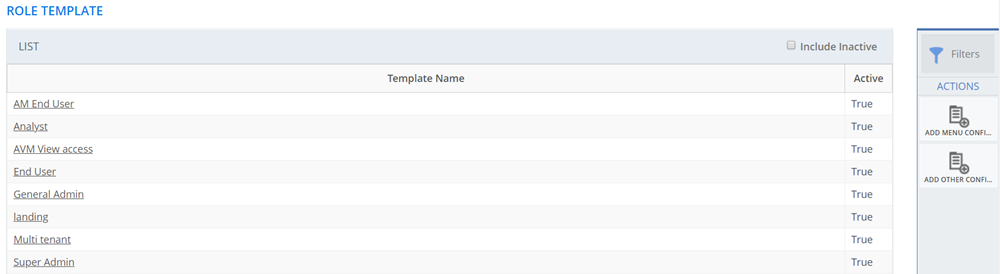
Figure: ROLE TEMPLATES
page: List of Role Templates
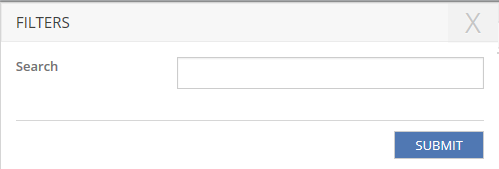
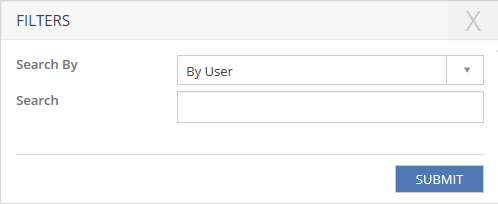
- To select a domain, click Filters and select the
domain from the drop-down list.
- To display the inactive Templates, click the Include Inactive check box.
- To edit a Template, click the configured
Template Name. Make appropriate
changes, and click SUBMIT.
- Click ADD MENU
CONFIGURATION to configure menus and submenus for the Role
Template.
- Click ADD
OTHER CONFIGURATION to
add other configuration details for the Role Template. For more information
about configuring other details for Role Templates, see Role
Template Other Configuration details.
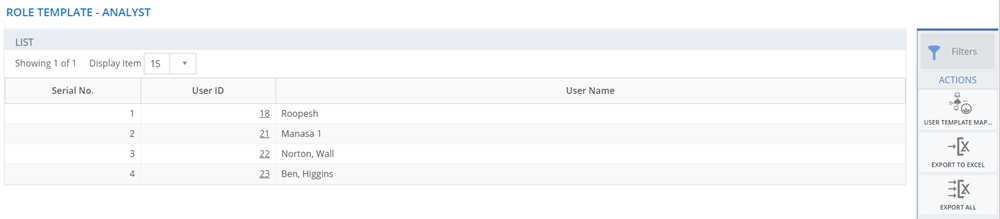
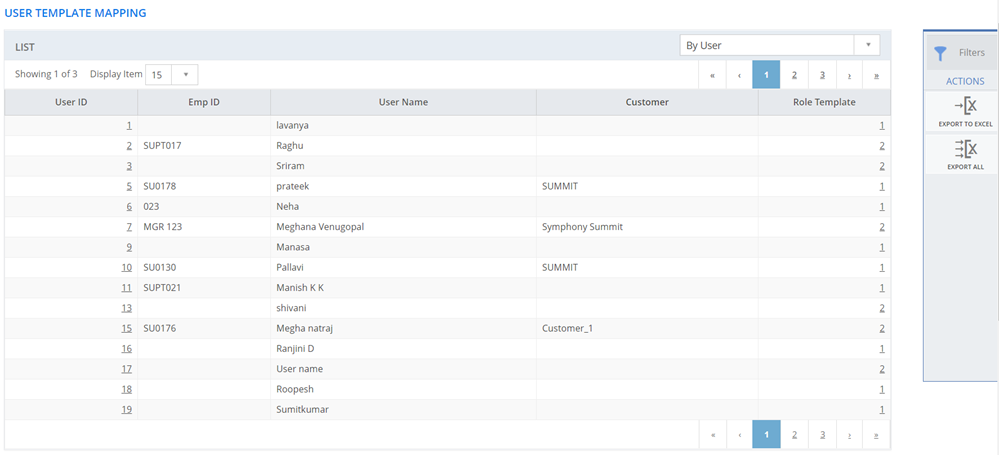
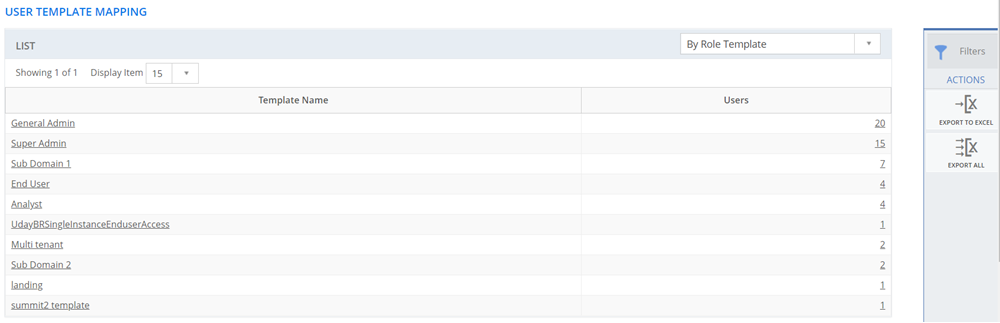
USERS - ROLE TEMPLATE
Click
USERS - ROLE TEMPLATE to view the users
who are mapped to the specific Role Template. 
 See
Screen Shot.
See
Screen Shot.
References