![]()

![]()
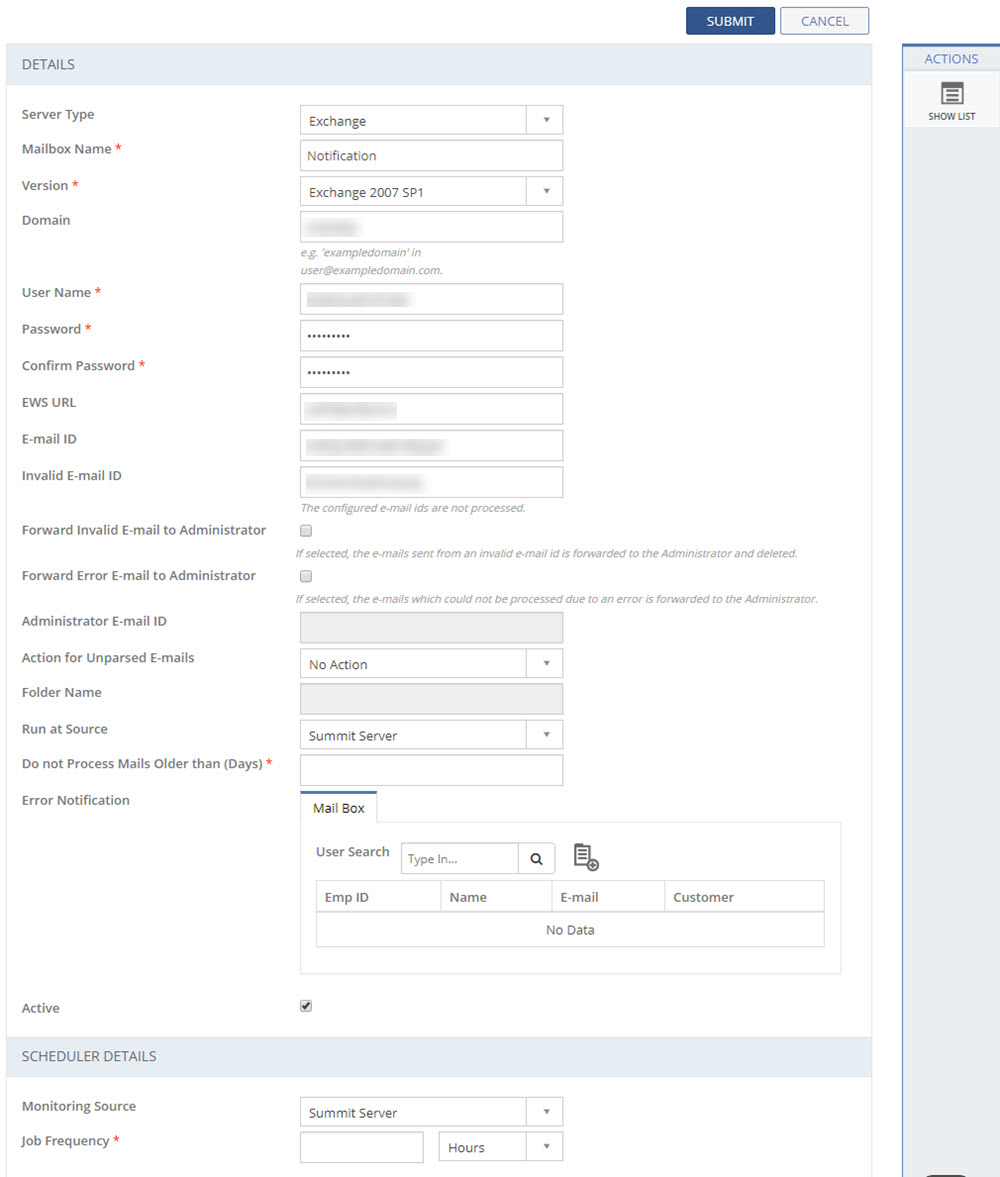
You can configure Mailboxes to enable E-mail Parsing. You can configure both Exchange and Pop-3 servers for the Mailboxes for a Tenant. For more information about E-mail Parsing, see E-mail Parsing.
To configure a Mailbox:
 See
screen shot.
See
screen shot.
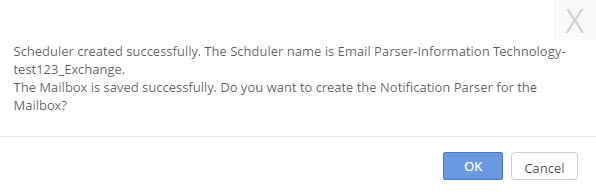
If you click OK, you are redirected to NOTIFICATION PARSER page. For more information about the NOTIFICATION PARSER page, see Configuring Notification Parser.
If you click Cancel, new Mailbox is configured.
This section explains all the icons on the ACTIONS panel of the MAILBOX page.
Filters
Click Filters to specify a particular filter criteria to display the configured Mailboxes. On clicking the Filters icon, the FILTERS pop up page is displayed. Select the Tenant and Server Type, and click SUBMIT.
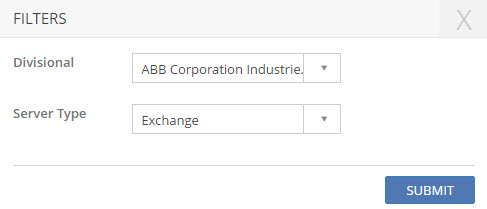
Figure: FILTERS pop-up page
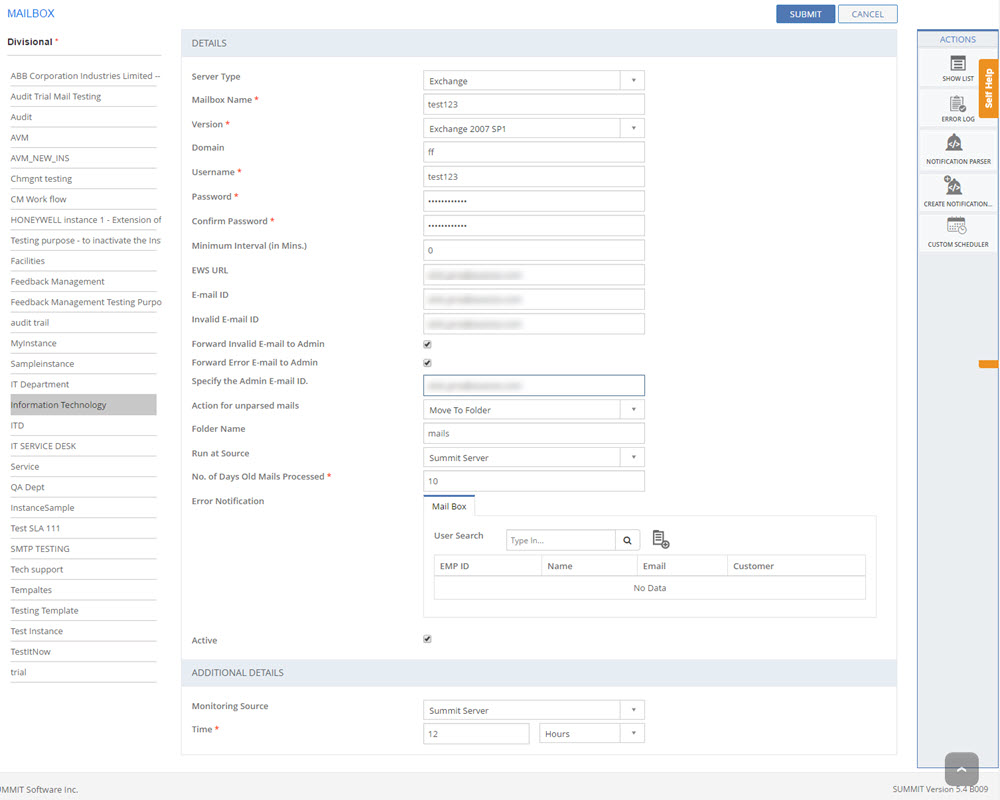
SHOW LIST
Click SHOW LIST to display the LIST table showing all the configured Mailboxes as per the selected Server Type value for the selected Tenant.

Figure: MAILBOX page : List of Mailboxes
See
Screen Shot.
| Note: When the configured Mailboxes are displayed under the LIST table, the ADD NEW action is displayed under ACTIONS. Click ADD NEW to configure a new Mailbox. |
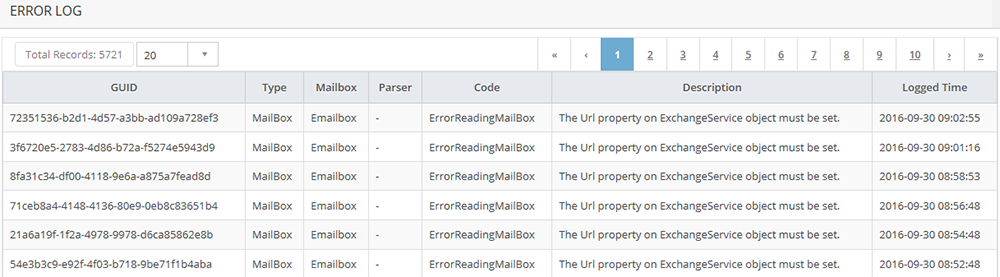
ERROR LOG
Click ERROR LOG
to view the error details. The ERROR LOG
pop-up page is displayed. See
screen shot.
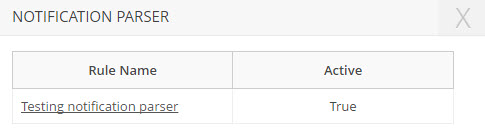
NOTIFICATION PARSER
Click NOTIFICATION PARSER to view Rule list.
NOTIFICATION PARSER
pop up page is displayed.
See screen shot.
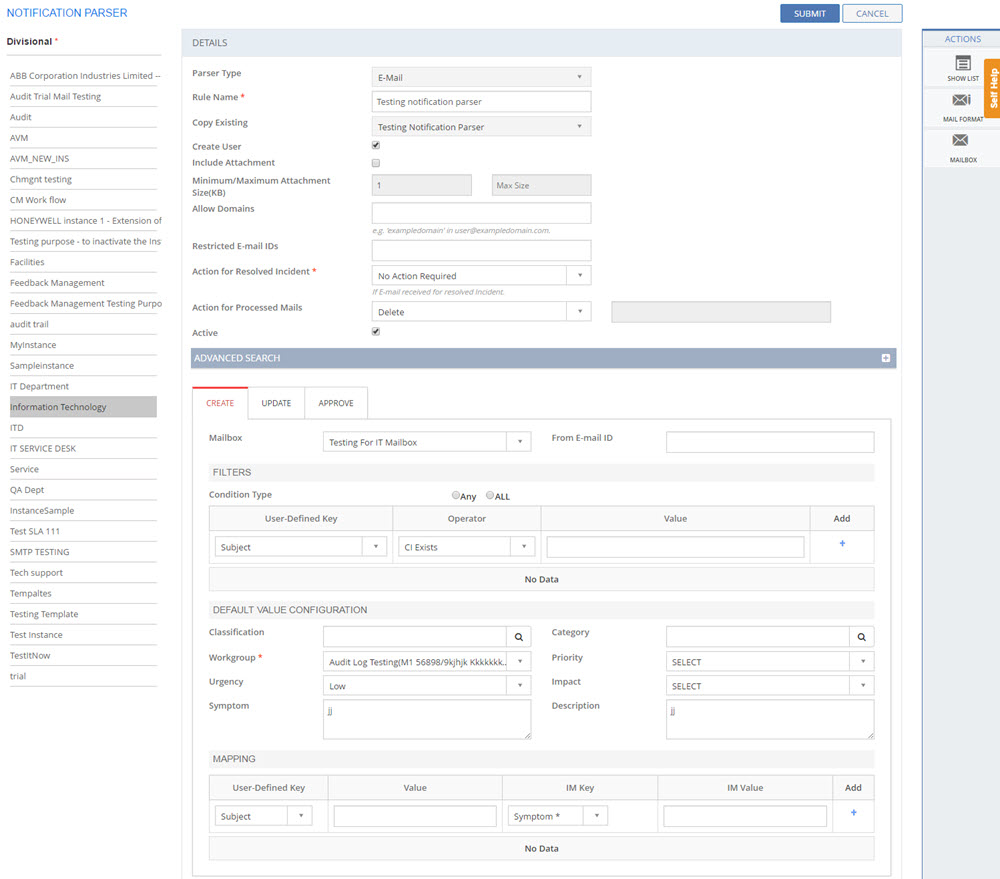
Click Rule name to
configure NOTIFICATION PARSER. NOTIFICATION
PARSER configuration page
is displayed. See
screen shot. For
more information about the NOTIFICATION PARSER page,
see Configuring
Notification Parser.
CREATE NOTIFICATION PARSER
Click CREATE NOTIFICATION PARSER to create NEW NOTIFICATION PARSER. For more information about the NOTIFICATION PARSER page, see Configuring Notification Parser.
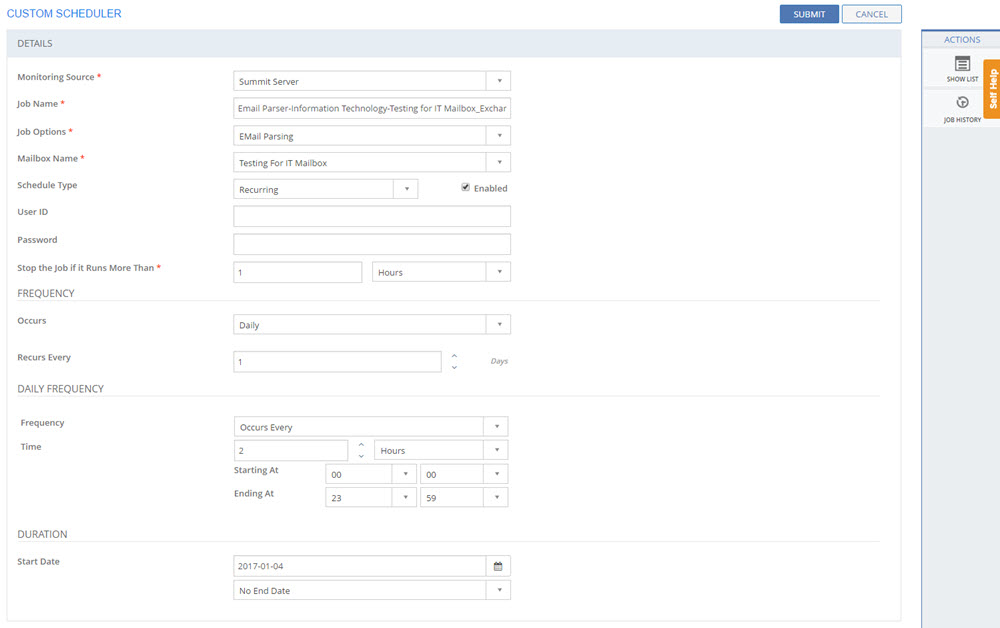
CUSTOM SCHEDULER
Click
CUSTOM SCHEDULER to configure
CUSTOM SCHEDULER for the Mail
Box. CUSTOM
SCHEDULER page is displayed.
See screen shot.
For more information about the CUSTOM
SCHEDULER page, see Configuring
Custom Scheduler.